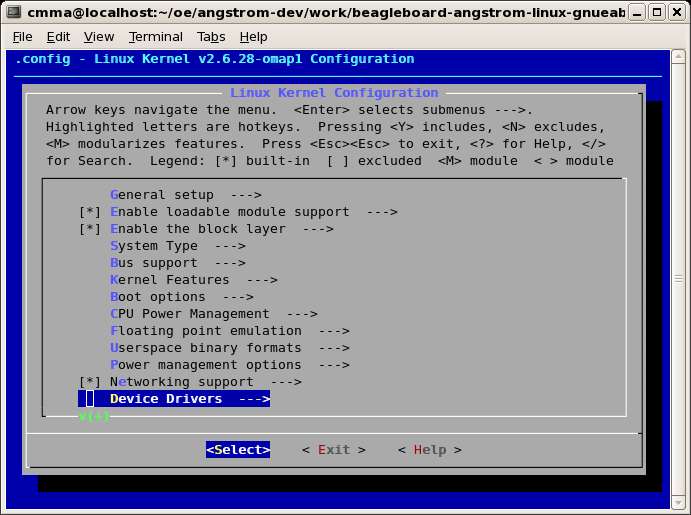
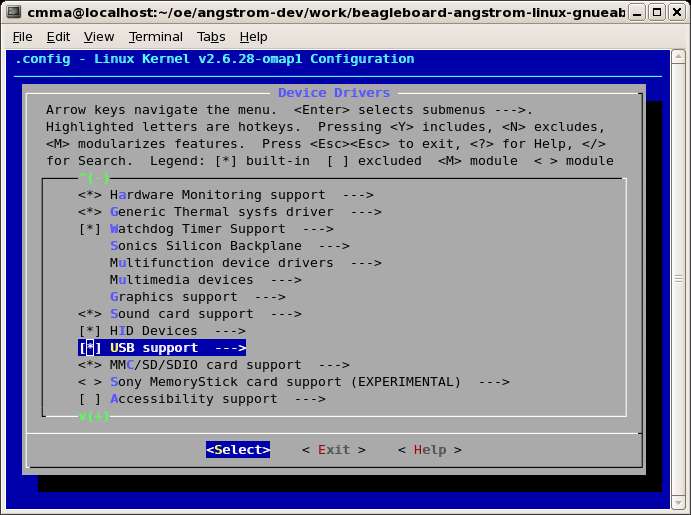
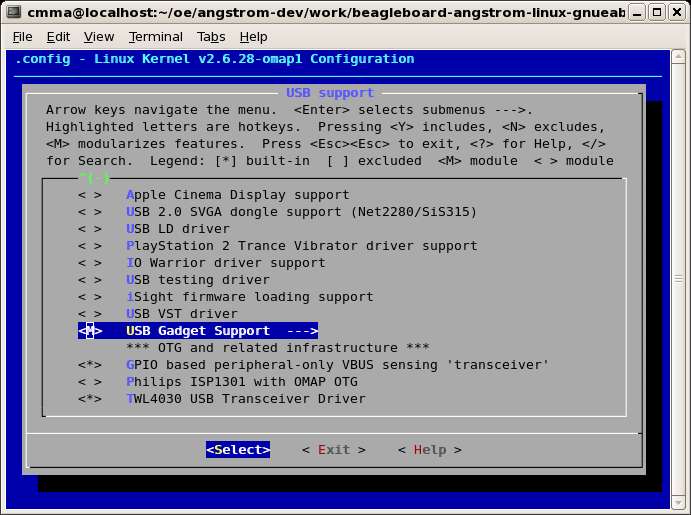
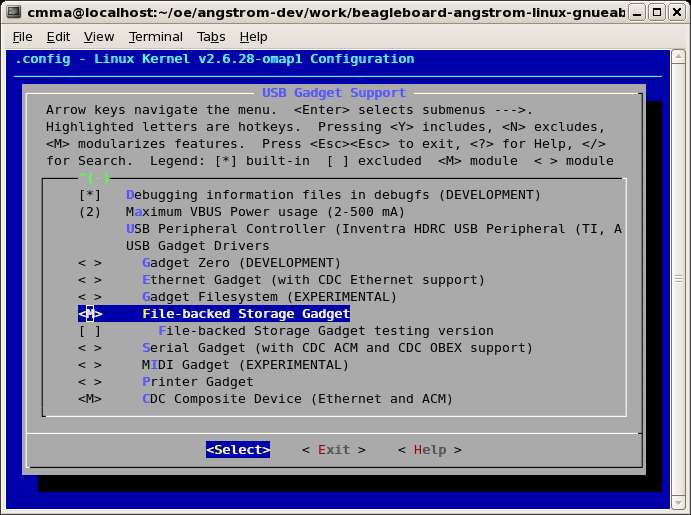
The first thing to do is enable the file storage gadget module in the kernel as such:


Exit all the way out and save your changes. Rebuild the kernel by following the steps in this previous post.
I had to add a few packages to the root file system in order for the BeagleBoard to have all the tools on board to configure the backing storage for the file storage gadget. These packages were ‘dosfstools’ and ‘parted’ and they were added to my image recipe, cmma-ptrp-image.bb:
# added for file backed storage support for file storage gadget
ANGSTROM_EXTRA_INSTALL += " dosfstools parted "
I was able to automate the process for creating the backing storage. The script below creates and mounts a 64MB backing store and can be copied onto the SD card in the root file system and executed from the BeagleBoard command line:
#!/bin/sh
if [ "${#}" != "1" ]; then
  echo "usage: $0 "
  exit 1
fi

/bin/dd bs=1M count=64 if=/dev/zero of=${1}
if [ "$?" != "0" ]; then
  echo "Failed to create block file $1"
  exit 2
fi

/usr/sbin/parted ${1} mklabel msdos
if [ "$?" != "0" ]; then
  echo "Failed to create partition label on $1"
  exit 3
fi

/usr/sbin/parted ${1} mkpartfs primary fat32 0 64
if [ "$?" != "0" ]; then
  echo "Failed to create partition on $1"
  exit 4
fi

NSTART=`/sbin/fdisk -lu ${1} | /usr/bin/awk '/FAT32/ { print $2*512 }'`
if [ "$?" != "0" ]; then
  echo "Failed to set NSTART"
  exit 5
fi

/sbin/losetup -o ${NSTART} /dev/loop0 ${1}
if [ "$?" != "0" ]; then
  echo "Failed to create loopback for $1"
  exit 6
fi

/usr/sbin/mkdosfs /dev/loop0
if [ "$?" != "0" ]; then
  echo "Failed to make dos fs for file $1"
  exit 7
fi

MTPT=`pwd`/loopback
/bin/mkdir -p ${MTPT}
if [ "$?" != "0" ]; then
  echo "Failed to create mount point ${MTPT}"
  exit 8
fi

/bin/mount -t vfat /dev/loop0 ${MTPT}
if [ "$?" != "0" ]; then
  echo "Failed to mount $1 on ${MTPT}"
  exit 9
fi

echo "Created ${1} and mounted on ${MTPT}"
echo ""
echo "To unmount:"
echo "  umount /dev/loop0"
echo "  losetup -d /dev/loop0"
This will allow the BeagleBoard to manipulate the data in the backing store as a local file system mounted on ${MTPT}. In my BeagleBoard-based device this will be one mode of operation.
To test this functionality I setup the backing storage file (‘fsbackfile’) and mounted it with the script above (saved as ‘mkbackfile’) then copied some files to it:
$ ./mkbackfile ./fsbackfile
64+0 records in
64+0 records out
mkdosfs 2.11 (12 Mar 2005)
Loop device does not match a floppy size, using default hd params
Created ./fsbackfile and mounted on /home/root/loopback

To unmount:
  umount /dev/loop0
  losetup -d /dev/loop0
$ cp /etc/services ./loopback
$ cp /etc/passwd ./loopback
On my device a button push will invoke the file storage gadget mode by unmounting the BeagleBoard local loopback file system and invoking the ‘modprobe’ command to load the File Storage Gadget module. For testing purposes I did this by hand on the BeagleBoard:
$ umount /dev/loop0
$ losetup -d /dev/loop0
$ modprobe g_file_storage file=/home/root/fsbackfile
Now the BeagleBoard is ready to plug into a PC as a mass storage device.
To test the file storage gadget I connected the correct cable to the mini-USB port on the BeagleBoard and to the standard USB port on my Linux development box. My BeagleBoard automounted and I was presented with a fle manager window showing the contents of the device–two files, services and passwd. Success!!!
Just to make sure everything was functional, I then used gedit to edit the passwd file and save it back to the device. I then unplugged the USB cable on the Linux development machine side. On the BeagleBoard I remounted the loopback device:
$ /sbin/losetup -o 16384 /dev/loop0 /home/root/fsbackfile
$ mount /dev/loop0 /home/root/loopback
$ ls /home/root/loopback
services         passwd  ~passwd
We can see that the gedit backup file has been created. Looking at the contents of passwd and ~passwd revealed the expected contents.
This completes the successful demonstration of BeagleBoard as File Storage Gadget.
4 replies on “BeagleBoard as USB Mass Storage Device via USB OTG”
I followed your steps but unfortunately the device is not auto-mounting when I plug it into a PC. Did you ever encounter this problem?
Yes, when I plugged it into a Windows XP box. It was an issue I never got around to solving as our project took a different path.
Everything worked fine when plugging into a Linux box, though.
when I plugged it into a Windows XP box. It is detected properly.but i am unable to view,read,write files to file stoge usb.
Please let me know somw inputs.
does any body know how to expose beagleboard as USB device to windows host?
I see that people did that in past but struggled to get it working.
Can anybody let me know if somebody successfully achieved that? I’m also trying to do same thing.